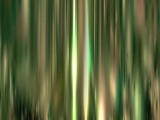
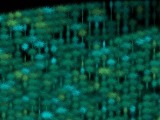
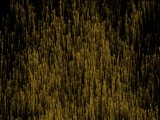
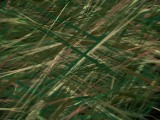
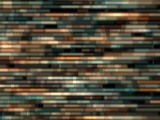
Artistic Backgrounds ::pe SM::
The Artistic Backgrounds library by Sasha Milica contains a wide variety of emitters
that are intended to be used as animated backgrounds. Use them alone or combine
them for great textural results.
Most of these emitters utilize the "emit at points" function to create their unique look. - a technique that
is innovative, and very useful. Try to understand how these emitters work, and you will
learn a powerful technique.
Some of these emitters are performance "hogs" -- that is, they can make even a fast machine sluggish.
Often you can adjust a "life" or "number" property to counteract this, but sometimes there will
be nothing you can do. Complex effects are often just slower -- but worth waiting for!
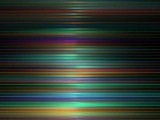
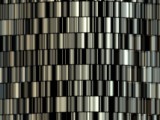
Sheer Curtain Bars

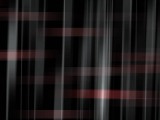
Sheer curtain waves slowly, covered with horizontal bars.
This effect looks best on a dark background, but it works on medium-colored ones as well. You
can try it on light (white) backgrounds too, but you'll need to change the color of the "vert"
particle type to black, and also make it non-intense.
Spoke Bars Diagonal

Diagonal bars grow and move in opposite directions, with a great "depth" to it. Works best at
full visibility on dark backgrounds. Probably not good in combination with other emitters
either.
The motion of the bars is due to the offset of the reference point -- to decrease the amount of
movement, make the reference point of both particle types closer to the center.
Light and Dark Diagonal

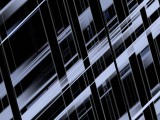
The same idea as the "Spoke Bars Diagonal" emitter, but with a more abstract look combining dark bars with light gradient
bars.
This emitter works on many backgrounds, not just black or white -- try pastel colors for a nice look. One thing about this
emitter you may notice is that you'll see bars appear and then disappear a short time later. I'm not certain what
is causing this -- it may be a bug in the pIllusion engine -- so you may have to find a sequence of frames that doesn't
show this problem.
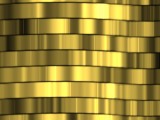
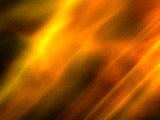
Golden Strip Waves

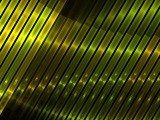
This looks like an array of metallic strips sliding over each other, with the highlights creating
interesting "waves".
Adjust the "emit at points" value to change the number of strips -- increasing to 43 or so strips makes them overlap
and results in brighter strips between them. Also experiment with changing the color gradient -- changing the first color point
to a red gives a nice look.
Shiny Color Stripes

This emitter looks like colored glassy rods stacked horizontally, with light moving up them.
You can change the number of rows by changing the first "emit at points" value. The second "emit at points" value
is set to 300, although I don't see much (if any) change by decreasing this, even all the way to 1. If you
decrease it and agree there is no visible difference (or any difference you do see is acceptable), then do it, because
lower means less particles, which means better performance.
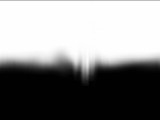
Stark Single Impulse

This is a very unique emitter, with a disturbance "pulsing" along the border between a 1/2 black and 1/2 white
area. Note that sometimes the preview shows this incorrectly sometimes.
After adding this to the stage, you'll notice that a "gap" appears at some point around frame 50 -- this is due
to "preload" particles not behaving exactly the same as "normal" particles under some circumstances (for instance
when "emit at points" is used). The only way to avoid it is to set preload to 0 (or leave it as-is if performance
isn't an issue) and then just throw away the first cycle of frames.
Note that this effect is nice with other colors too. Also, understand that the black portion of this effect is
created by particles -- it's not the background showing through.
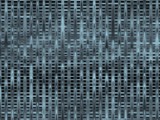
Impulse Net Wave

What looks like a "net", but waving. It's actually waving in both directions, but the vertical motion is more pronounced.
You can increase the size of the "weave" (create a larger grid) by reducing both "emit at points" values -- making them
equal creates a square "grid". If you do reduce the number, you may want to increase the "size" property to compensate.
You can increase the amount of horizontal movement by scaling the "x-size over life" graph (by 200% for instance), and decrease the amount
of vertical movement by scaling the "y-size over life" graph (by 50% for instance).
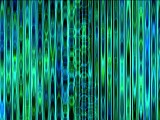
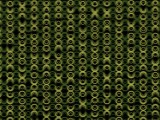
Green Impulse Circles

A wild effect that consists of vertical columns of elongated rings, with a "wave" of bigger rings pulsing
throught the columns.
As with the "Stark Single Impulse" emitter, a "gap" occurs when adding this to the stage. You'll have to
throw away the first cycle of frames to avoid this.
The "emit at points" values control both the number of rings in each column, and the number of columns (the first
value controls the number of points in each column, and the second is the number of columns). Try reducing the
number of columns and increasing the "size".
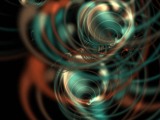
Swirl

A simple effect with giant swirls spinning and growing over time.
This emitter looks good on black, but try it on white for a nice variation -- works on any background color. Try combining
this emitter with the "Shiny Color Stripes" emitter, possibly on a medium-brightness background.
Metal Curtain 01

A wavy metal curtain, with light waves moving left to right.
A really nice effect that relies on "emit at point" tricks (as many of these emitters do). If you want the
wave to move the opposite direction (right to left), change the emitter "angle" value from 90 to -90.
Metal Curtain 02

A larger, golden metallic curtain.
On the first few cycles you may see the "ghost" of the previous pass -- I think the only solution is
to throw away the first few cycles. You can also try reducing the "life" value until you don't see the trails,
but this may change the way the effect looks.
As with the previous emitter, change the emitter "angle" from 90 to -90 to reverse the wave direction.
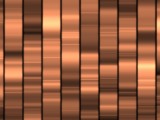
Metal Curtain 03

This variation has columns instead of rows and the waves move up and down.
You can decrease the first "emit at points" value to reduce the number of columns, and increase the
"x-size" value to make the columns wider.
Water Bio

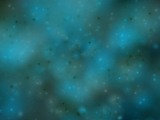
A simple but very effective emitter that has a sort of underwater floating "stuff" look.
Use as-is on a black background, but also looks nice on a white background, especially if you edit the particle
color gradient by changing the black color point to white.
To make a variation with a somewhat "luminescent" quality, make the particles "intense" and check "preserve color"
too.
Shadowed Ring Rows

An array of small shadowed rings that grow over time.
This emitter is a good one to experiment with. Use it on white instead of black for one variation. Change the "emit at points"
values -- the first value determines the number of columns, and setting it to even or odd gives different color
results. Decrease both values and then increase the "size" property to "zoom" the effect.
Also try changing the particle angle (on the props dialog "behavior" page) to "specify" for a more "ordered" look -- then increase
the size a bit to overlap the particles.
Corded Wave

A very organic, "globby" looking effect, that "waves" diagonally from upper left to lower right.
Change the emitter "angle" to change the direction of the wave. This emitter also works really well with a single
color, and the best way to do that is to crank up the "tint strength" to nearly 100%, then choose your tint color.
Decrease the "wave" effect by increasing the "number" property.
Net Carpet

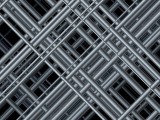
An intricate "woven" effect, that very slowly and subtly changes colors. You can't really detect what exactly is changing,
but the pattern definitely changes over time.
This works on a black background, but looks great on white too. A nice variation is to increase the emitter "size" to about
60% -- it ends up as a lighter color overall, but a nice effect.
This is another emitter that uses the "keep particles in order" option, but probably does not need it. Uncheck this option
and if you don't see any difference, keep it unchecked for more efficient use of memory.
Green Curtain Up

A type of "curtain" effect that instead of waving, moves upward.
You may want to decrease the "preload" value to make it more responsive - this effect can be a performance hog.
You can decrease the speed at which the particles move upward by decreasing the "velocity", but don't
make it 0 or the particles will turn sideways. Why? They use the "align to motion" particle angle setting, and if there
is no motion, they just get set to 0 degrees.
You can also move the reference point toward the top of the shape, which causes the particles to appear to move
downward at the start (as they grow), then move upward after they stop growing.
False Layers Fall

This appears to be sheets of particles that fall away revealing another layer behind.
Make the particles rise instead of falling by changing the particle type "weight" value to a negative
value. Scale the weight value to make the particles move faster, but you may need to decrease "life" a
little to compensate (so they fade in more quickly).
Bottlebrush Fall

Looks like a parade of bristles moving slowly down, with bristles moving randomly around the "crowd".
A great variation: decrease the emitter "life" parameter (the one just below "f-zoom over life") to about
11%, then make the particles "intense".
You can easily change the color by just changing the tint color - "Tint Strength" is already set to a useful value.
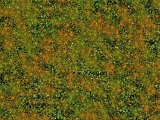
Summer Grass Up

A sheet of multi-colored "grassy" particles move slowly upward, with slight rotation.
Switch it to a white background for a change. The particles are stretched quite a bit which makes it
difficult to find different particle shapes that work.
To increase performance, decrease the super emitter "life" property (the topmost "life" property
in the hierarchy) -- you can decrease it somewhat until the particle density gets too low.
Diagonal Flame

A "flame" type effect, with the flames moving and growing upward to the right.
Try this with the "Sheer Curtain Bars" emitter for a nice effect, but this emitter can be combined nicely
with several of the emitters in this library.
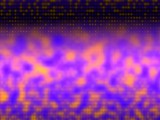
Light Pattern Grid Down

A psychedelic grid of luminous dots that move downward.
A subtle variation is to check the "USe key colors only" option next to the "random gradient
color" option on the "colors" page of the emitter properties dialog. A more drastic change is
to switch to the "Use next key color" color option instead -- it changes the random pattern to
stripes of color. Change the stripes by changing the "number of each color" value.
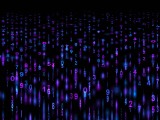
Digital Field Up/Down

Columns of changing numbers (digits) and dots stream down, then rise back up.
Change the number of columns using the first "emit at points" value. Slow down the rate of rise/fall
by increasing the emitter "life" property, but this can decrease performance. Decreasing the "number" property
may help this, although the emitter "number" is at 1% already, so you'll need to decrease both
particle type "number" values instead.
Organic Field Green

An intricate pattern of organic shapes slowly swim slightly.
Might be too "detailed" to use as-is, but decreasing the visibility a bit can help with that, although
it may "soften" the particles too much. An alternate approach is to set the tint color to black, then
increase "tint strength" somewhat.
To get more motion out of the particles, increase the emitter "spin" property (the motion is due to spin
with an offset reference point, not due to velocity).
This emitter also works well combined with "Diagonal Flames" -- try it in front and behind for 2 different looks.
Bamboo Wave 01

Columns of overlapping rods somewhat resembling bamboo canes slide up and down in a wave that moves from left to right.
The confusing thing about this emitter is that the second "emit at points" value controls the number of columns, instead
of the first value as we've seen before. Also, the "width" property changes the height of the emitter, and "height"
changes the width. Seems crazy, but take a look at the emitter "angle" property -- it's set to 90 degrees.
To change the amount of "wave", change the emitter "weight" property.
Bamboo Wave 02

The second "Bamboo Wave" emitter, a little brighter than the first, a little more colorful, and more particles.
For a variation, set the emitter "angle" to 45 degrees (instead of 90). Again, to change the amount of "wave", change
the emitter "weight" property value.
Bamboo Wave 03

A third variation of the "Bamboo Wave" that doesn't have the columns.
A nice variation is to switch to the "Sp19" particle shape, then set visibility to 50% or so.
Bamboo Wave 04

A very colorful "Bamboo Wave" variation, with rows instead of columns.
To make the wave move right to left instead of left to right, set the emitter "angle" to -90.
This emitter looks really nice on a white background. Another nice look is to use a black background
but make the particles "intense". A further variation is to switch to the "Sp19" particle shape
after making them "intense".
Bamboo Wave 05

The final "Bamboo Wave" variation -- again using rows instead of columns, and with a more "dispersed" wave.
Note that when first adding this emitter to the stage (and for many other emitters that use "emit at points"
with a preload value) it may not display correctly -- you need to get the stage to redraw. Hitting "rewind" even
if at frame 1 is a quick way to do this.
An interesting variation: switch to the "dot" particle shape, decrease the emitter "size", make the particles non-intense,
then use it on a white background.
Reflection Waves

Creates what looks like reflections on waves -- especially when viewed at full-speed (this emitter can be a performance hog).
One improvement that you may want to make: change the particle transparency gradient so it starts black and then
pretty quickly fades to white. This will prevent the particles from showing up when they are very small.
You can improve performance a little by decreasing the "f-life" value -- the free emitters are living too long
and travelling far out of the stage area in some cases (depends on the stage size you use). For HD or larger stage
sizes you will probably want to increase the "radius" value to get better coverage of the entire stage.
